
Throughout the process of building my woodworking workbench, I looked at quite a few quick release front vises before choosing one. I wanted a quick release vise so I wouldn't spend my afternoons turning the handle when switching from a wide piece of material to a thin one.
I first looked at Rockler's Heavy Duty Quick Release Front Vise and even though it had a good price, the recommended jaw width was 9". I was looking for something a bit wider... like twice as wide. I then looked at Veritas' Quick Release Front Vise. It was what I was looking for, except that it is quite expensive. This vise alone would double the rest of the price of the workbench. Lee Valley's website has a lower (web) profile quick release front vise. So low profile, I couldn't find any reviews or thoughts about it online at all. That was my motivation for writing this post.
It's hard to find from Lee Valley's site, but the large vise is the York HVQ 516. I googled and googled for information on it or people's thoughts on it without any luck. I decided to take the plunge due to a good price and every feature I was looking for.
Review
I ended up being very happy with my price despite only using it for a few days of work. Perhaps I'll update this post if my opinion ever changes. The quick release feature works very well. I need to turn the handle less than a full turn and it completely disengages the screw spindle. Then (with some WD40) the front jaw slides almost effortlessly. I just say almost because it's quite heavy duty and using a 2 1/4" thick front jaw made of walnut just adds to the weight. One clockwise turn and the mechanism is reengaged and you can tighten like normal! There's not much more else to say about it. It doesn't rack hardly at all. A bit of an angle can be seen in the jaws when tightening something only on one side, but it hasn't seemed to hurt the vise. The one struggle with the vise I've had is that all the documentation is in metric. Inches are used, but only in a decimal sense - not fractions like I'm used to. I needed to do some conversions to get things as close as I could.
Installation
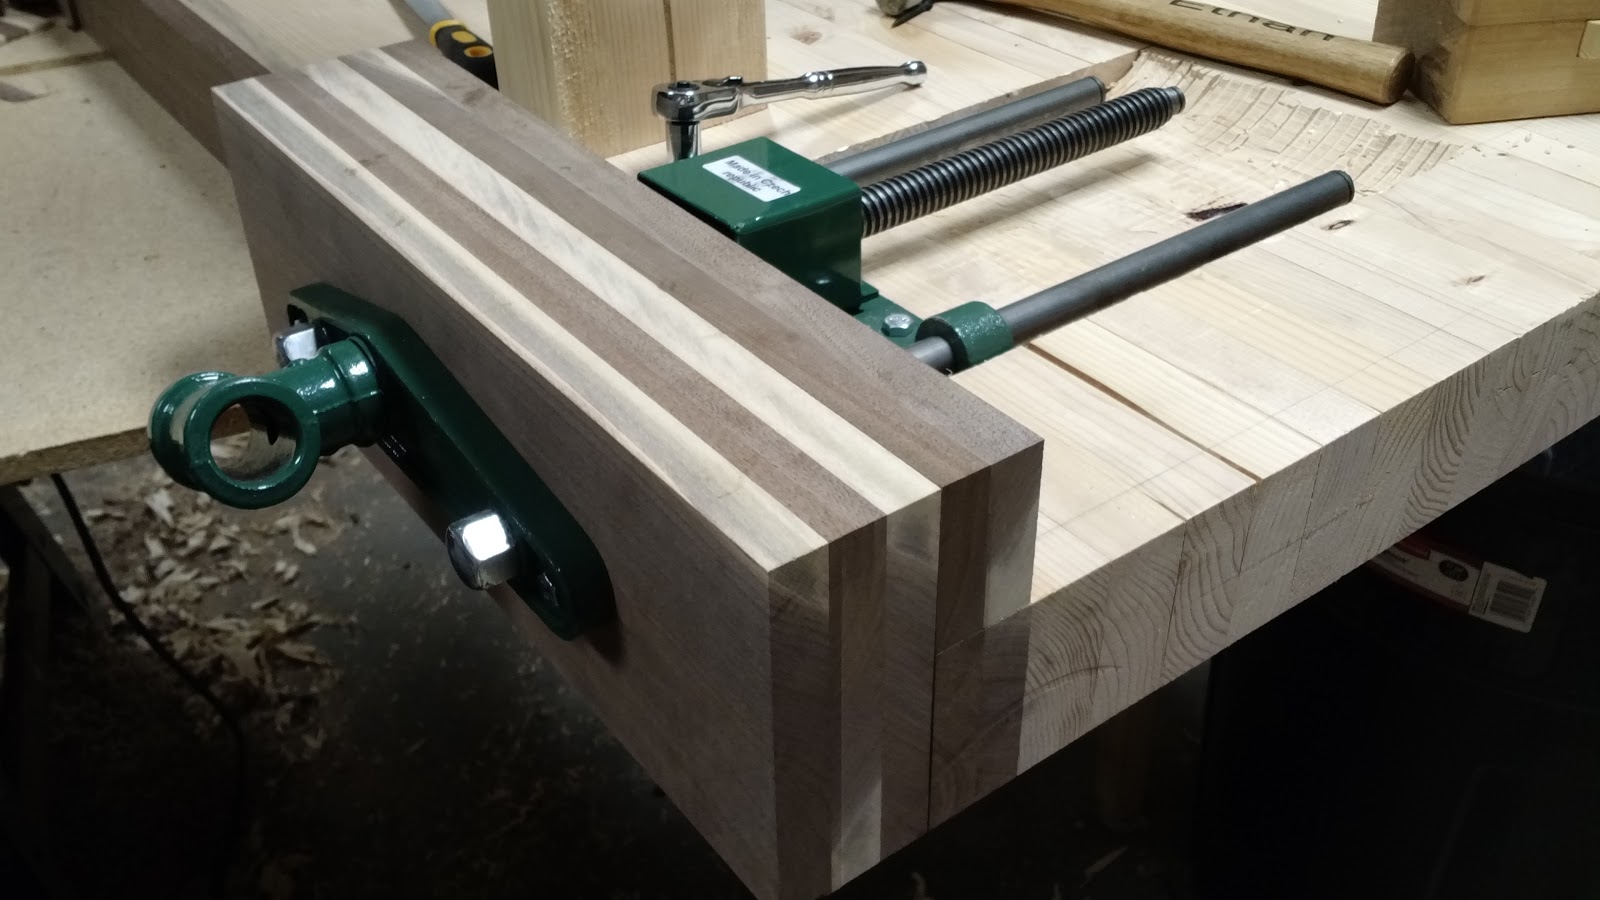
My bench top ended up being 3 1/4" thick after planing and sanding and all. This meant I needed to take out close to an inch of material where the vise bracket attaches according to the instructions. I did this over several passes with a router. I could do the front edge with my router fence to get a straight edge for the bracket to rest against. I fixed up the corners with a chisel.
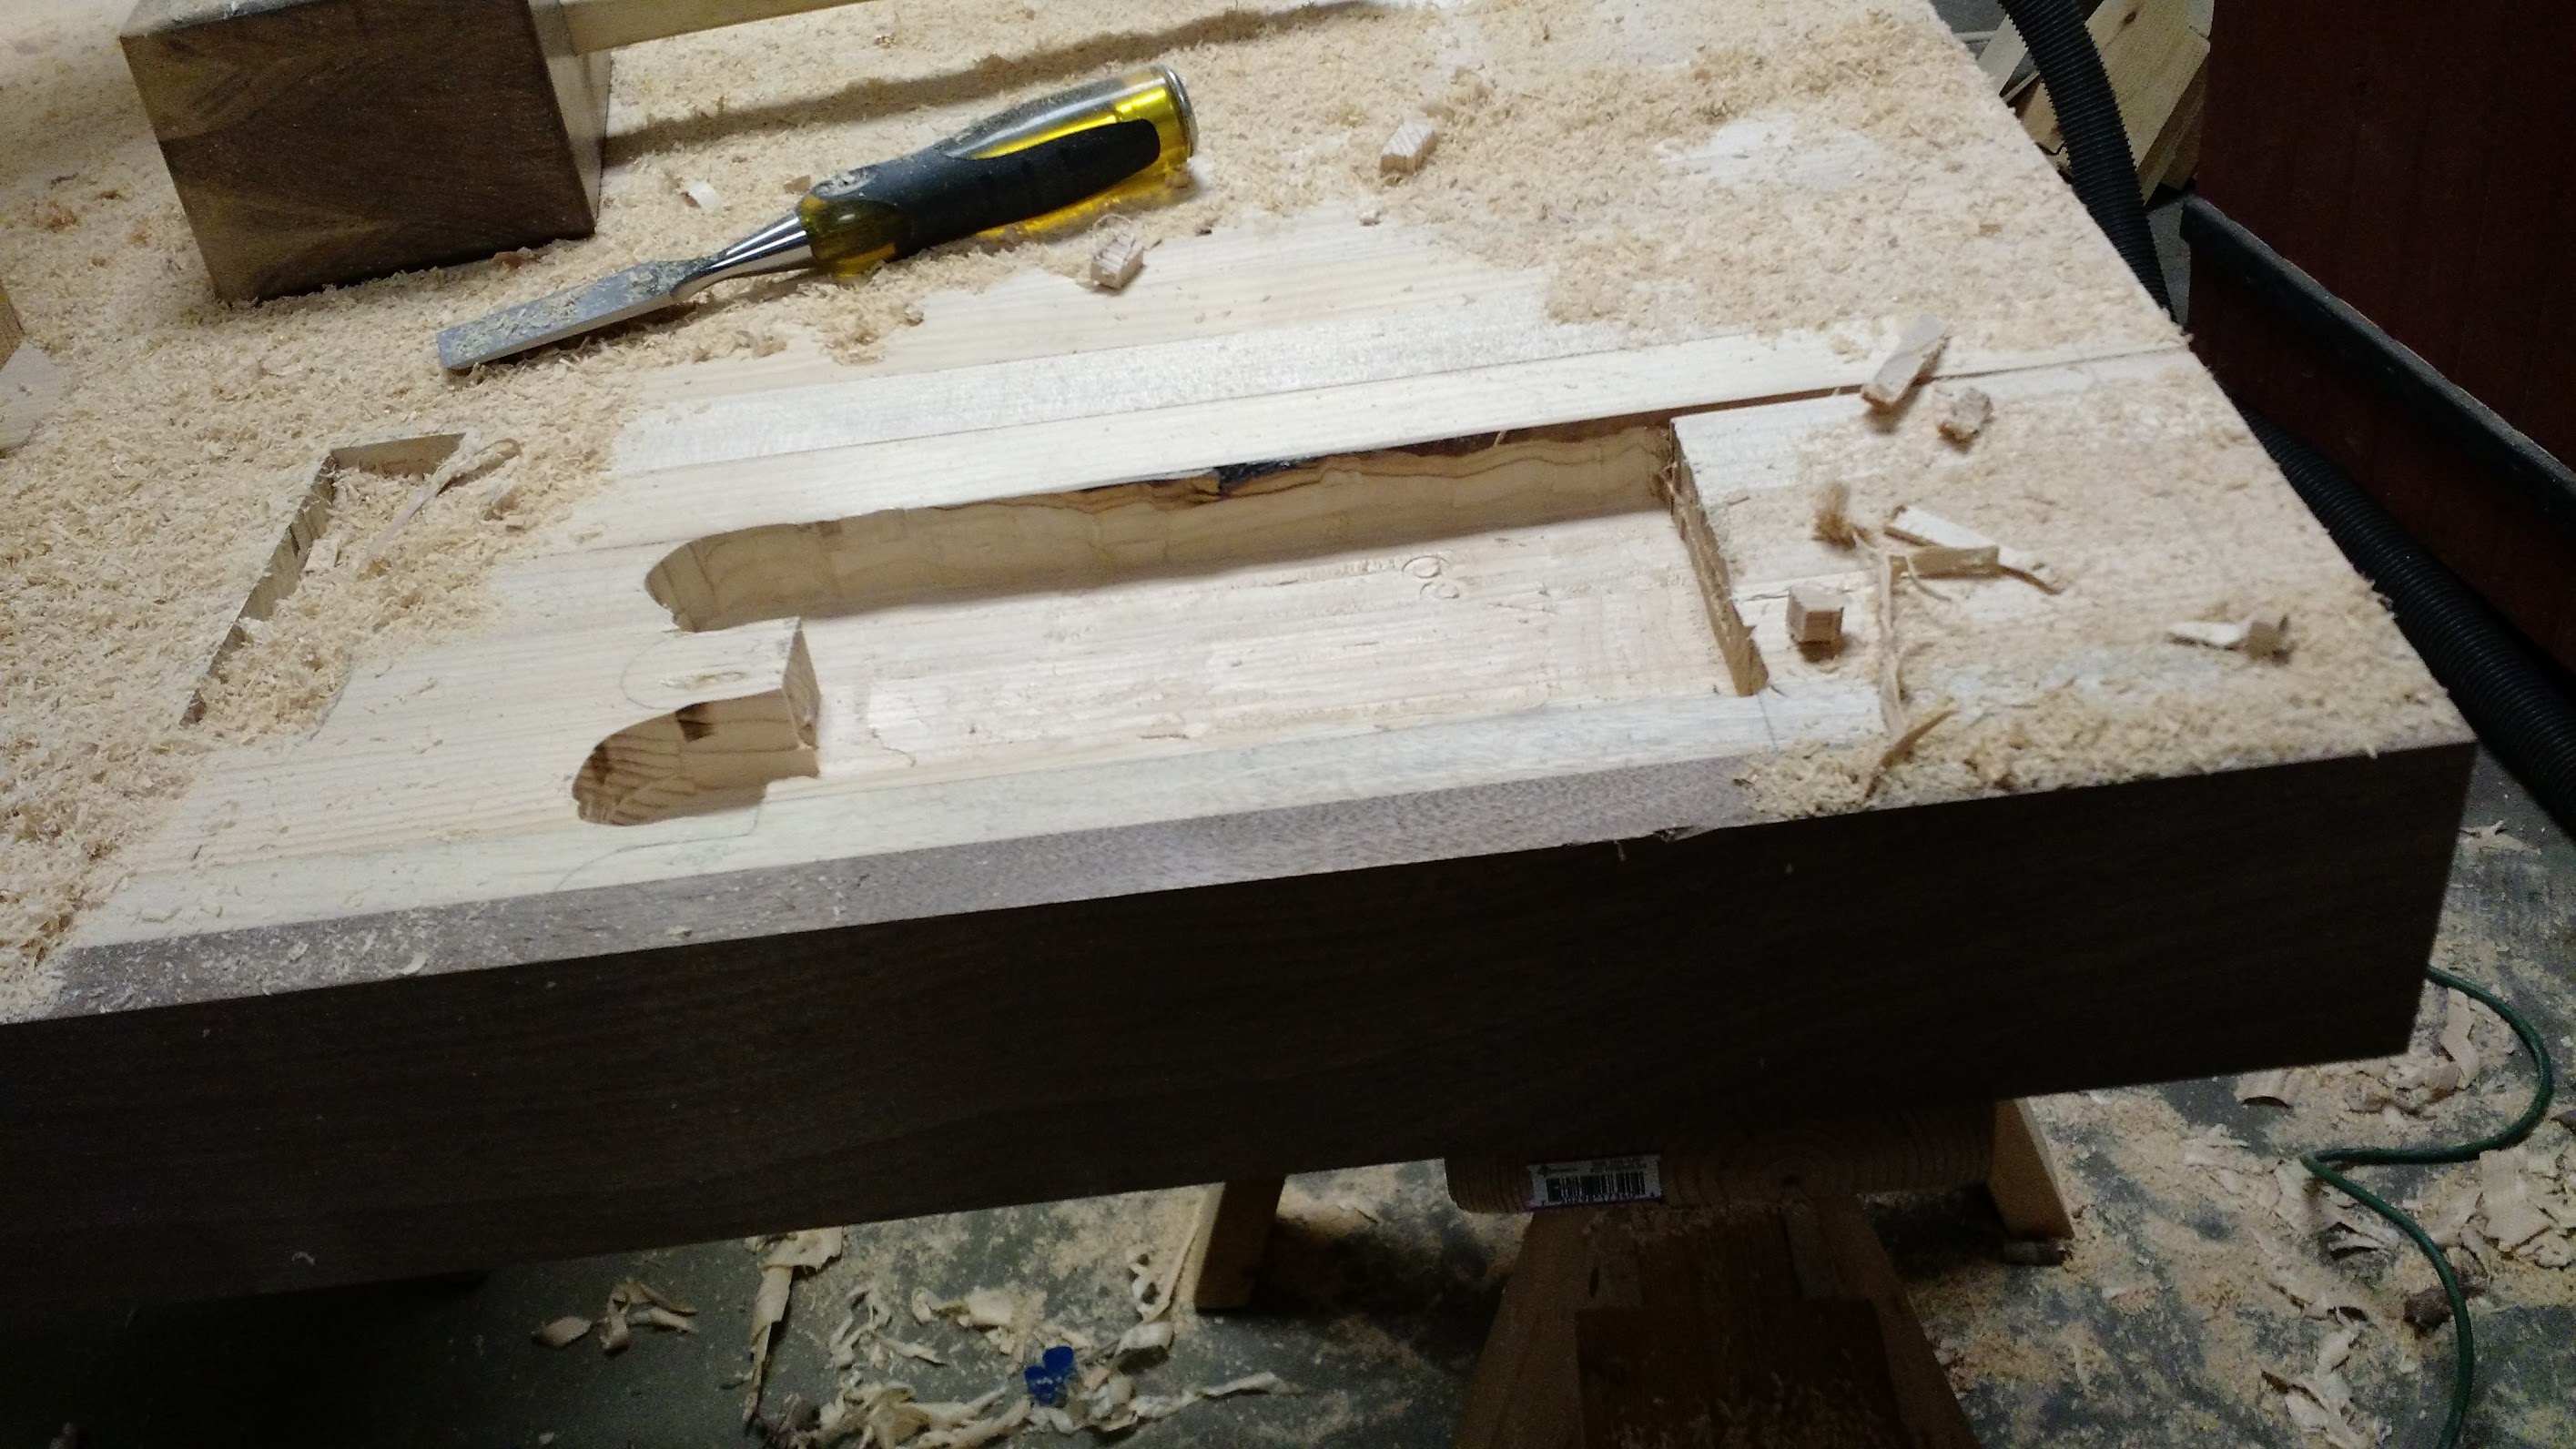
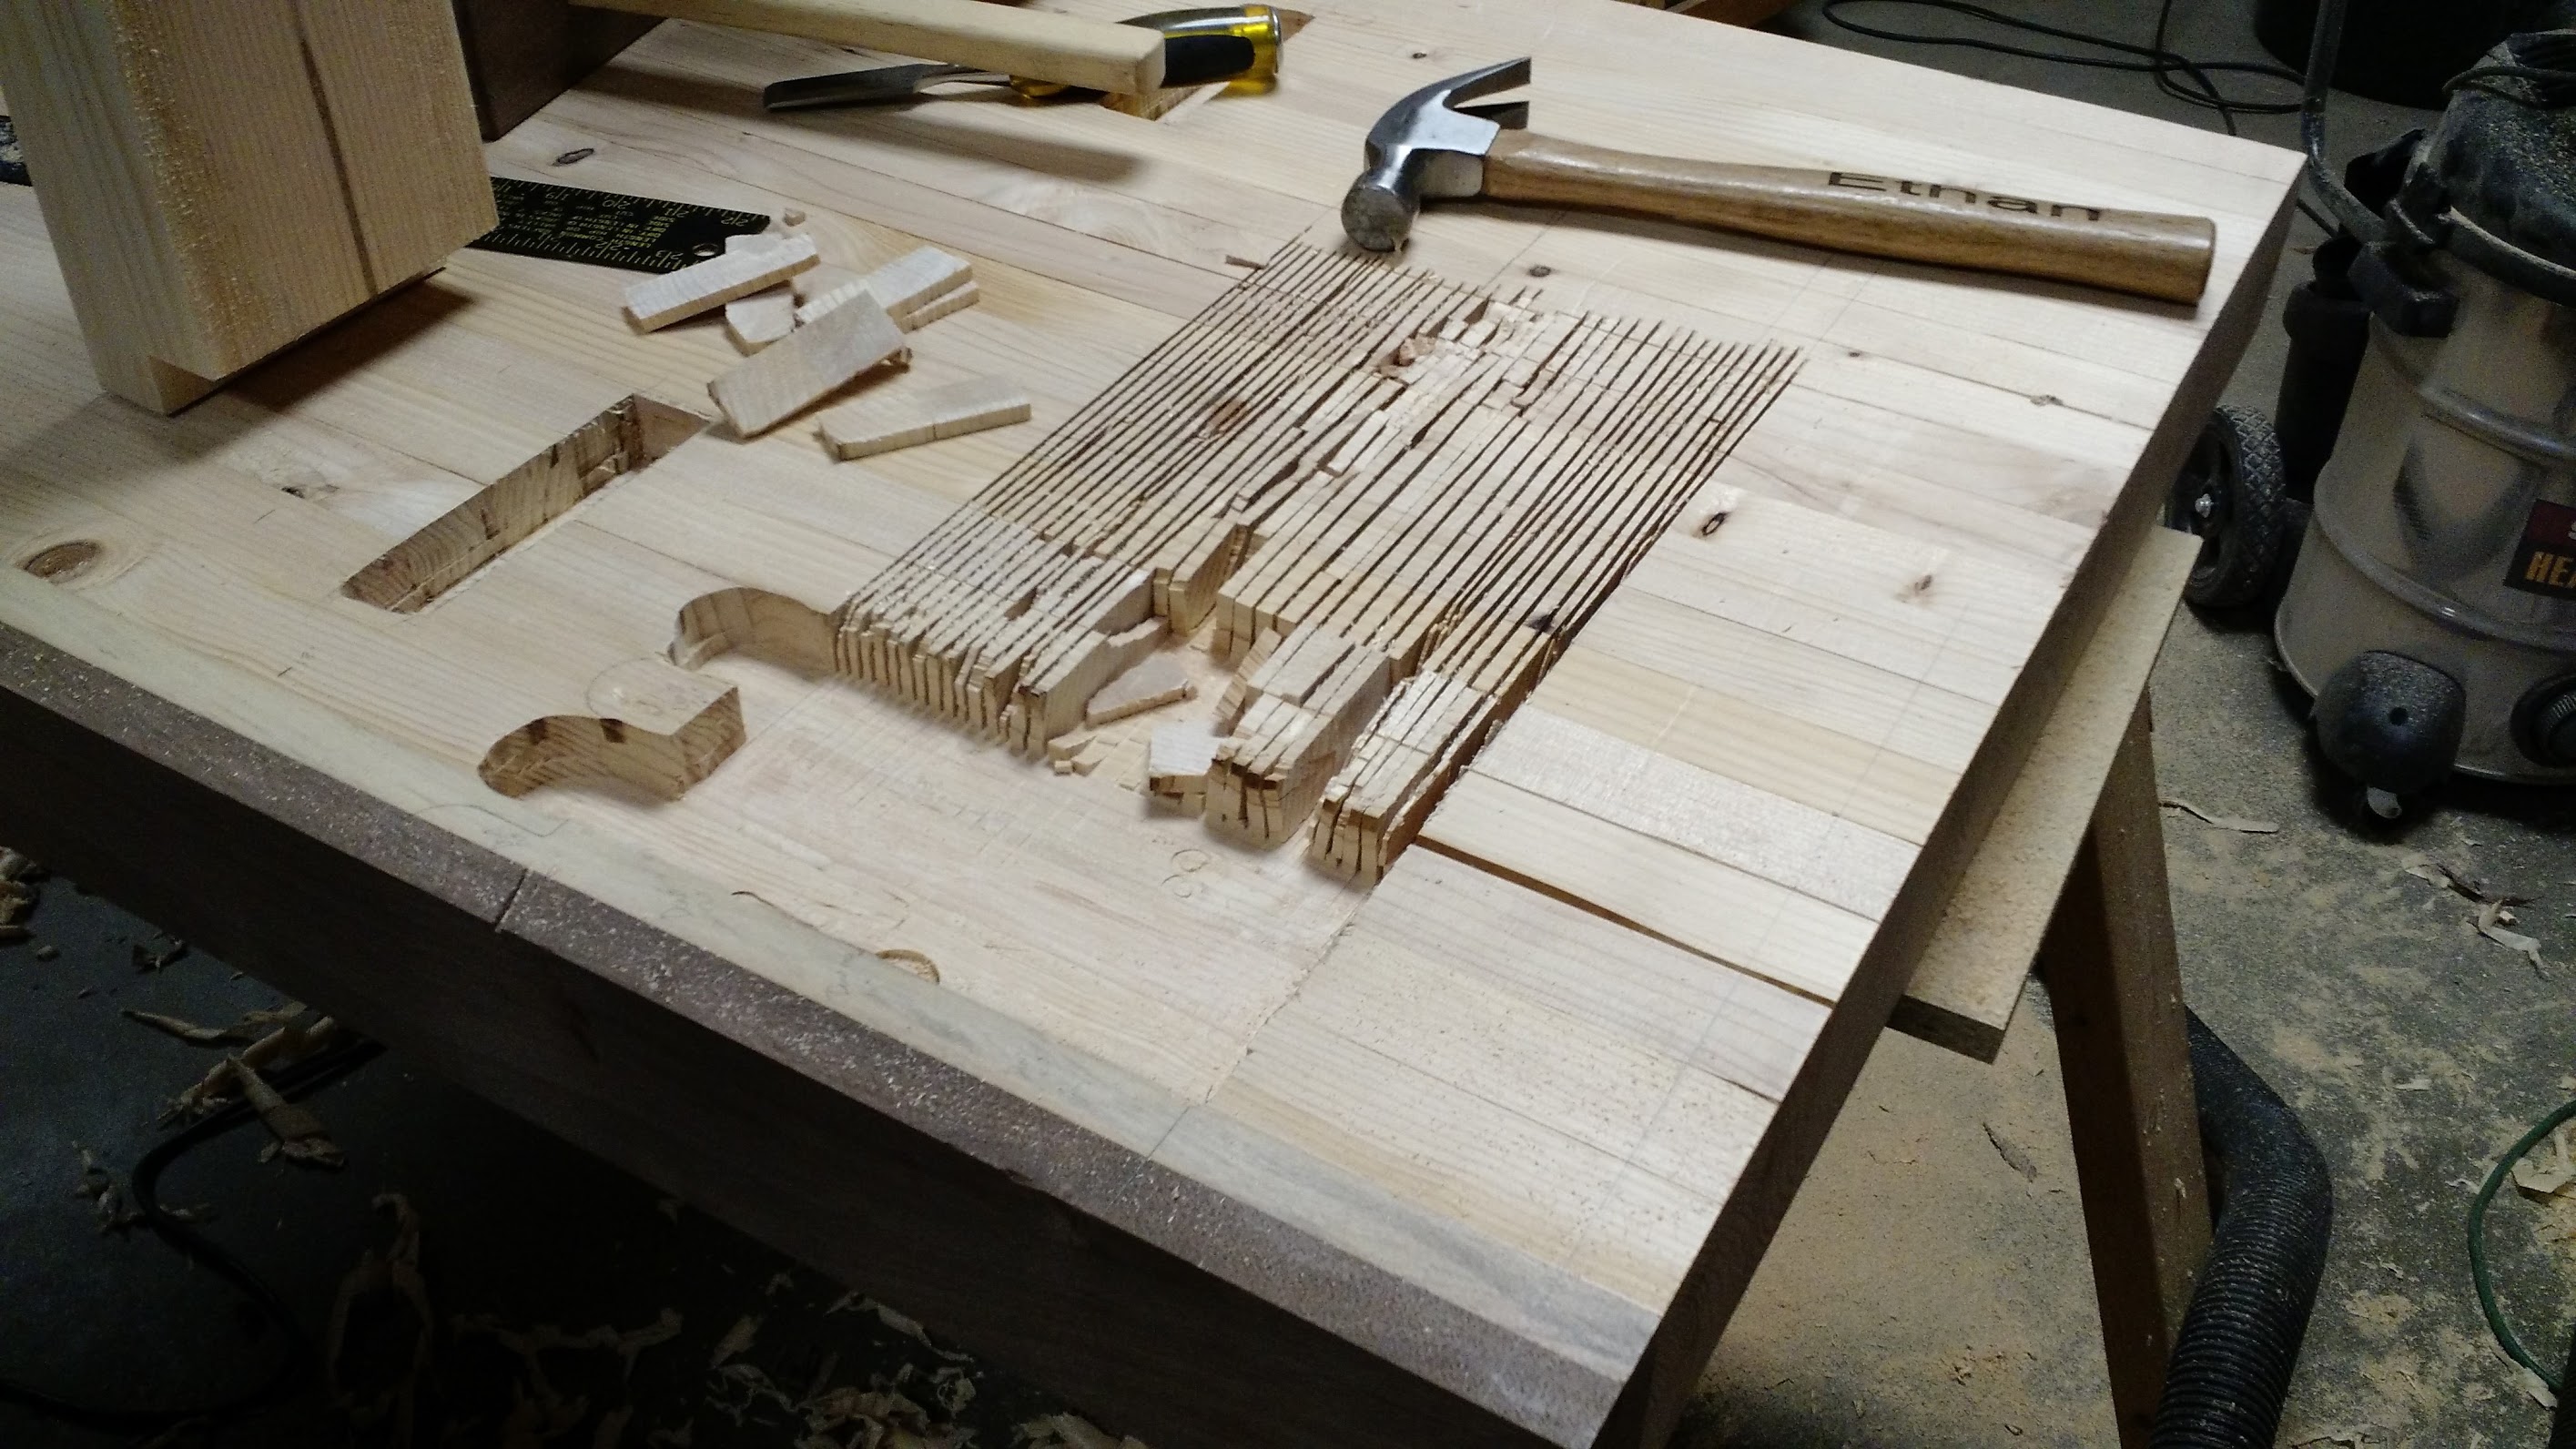
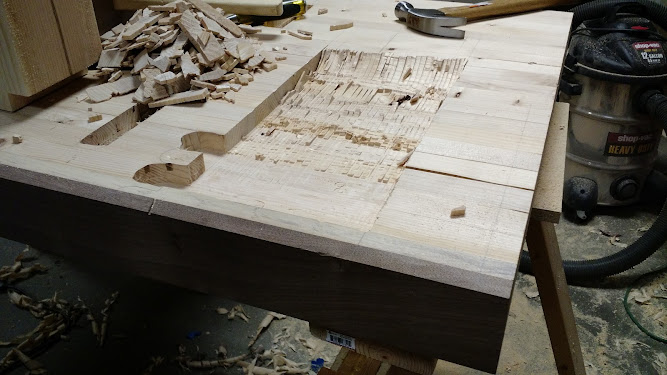
After doing this, I realized the threaded rod, and both stabilization bars will need much more room at about the same depth as the bracket. This lead to me grabbing the cordless circular saw and making several passes to remove a lot of material. I then used a hammer and lastly a chisel to clean out the material. You can see the progress here.

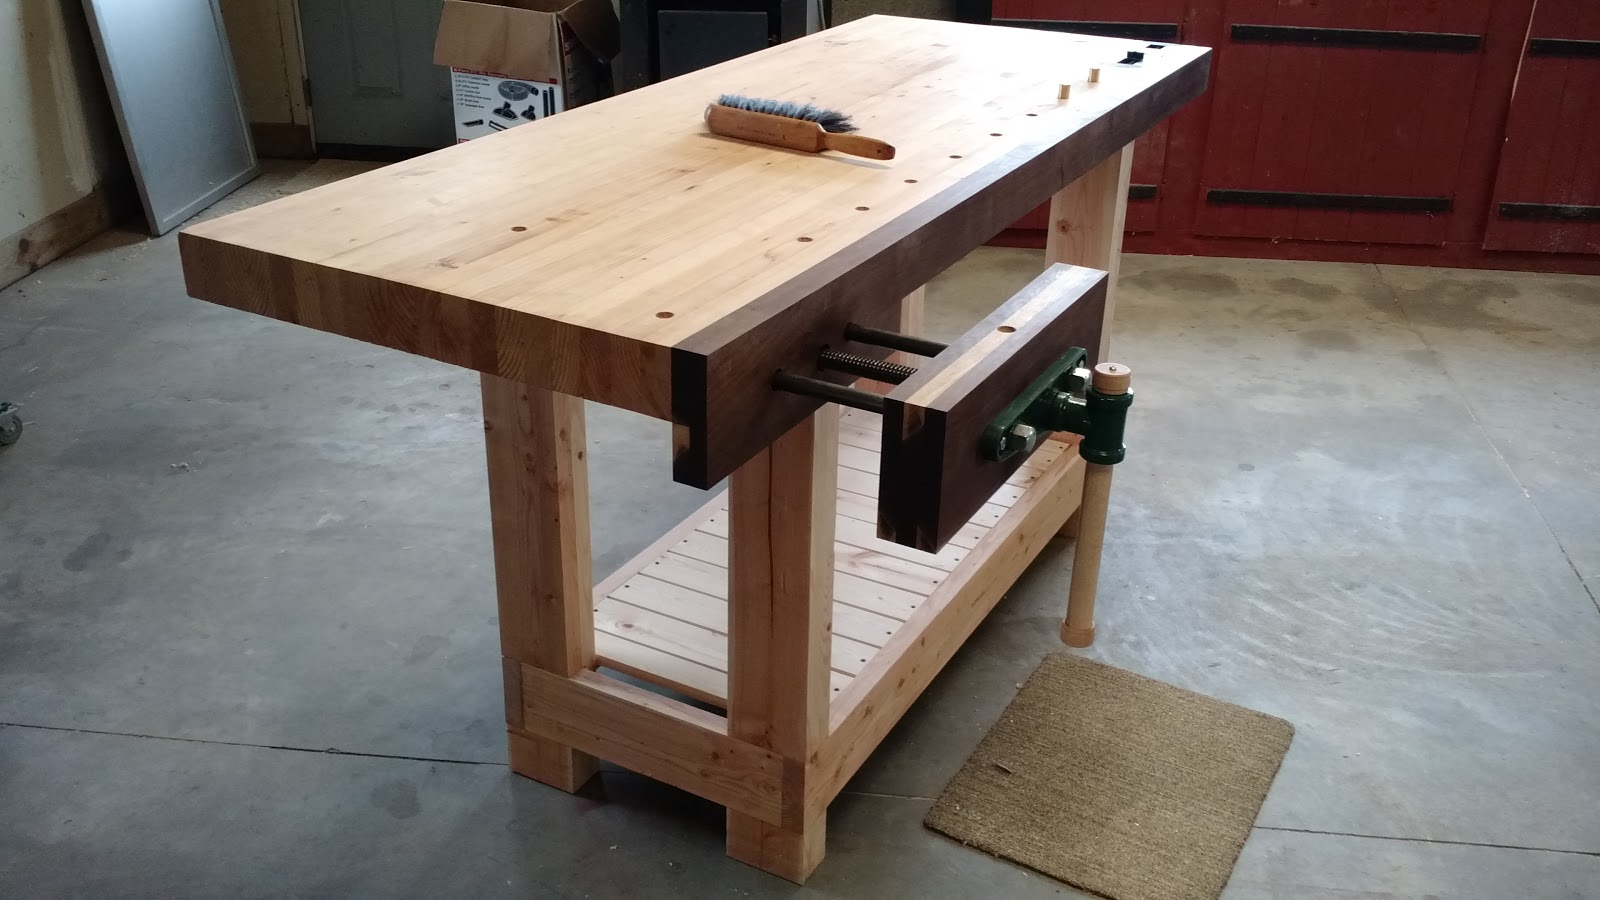
I made my jaws 5 1/2" tall which meant I needed to add 2 1/4" apron to the bottom of the workbench. I did this with more walnut. In the second picture you can see the bracket which will fit in the closest recess.
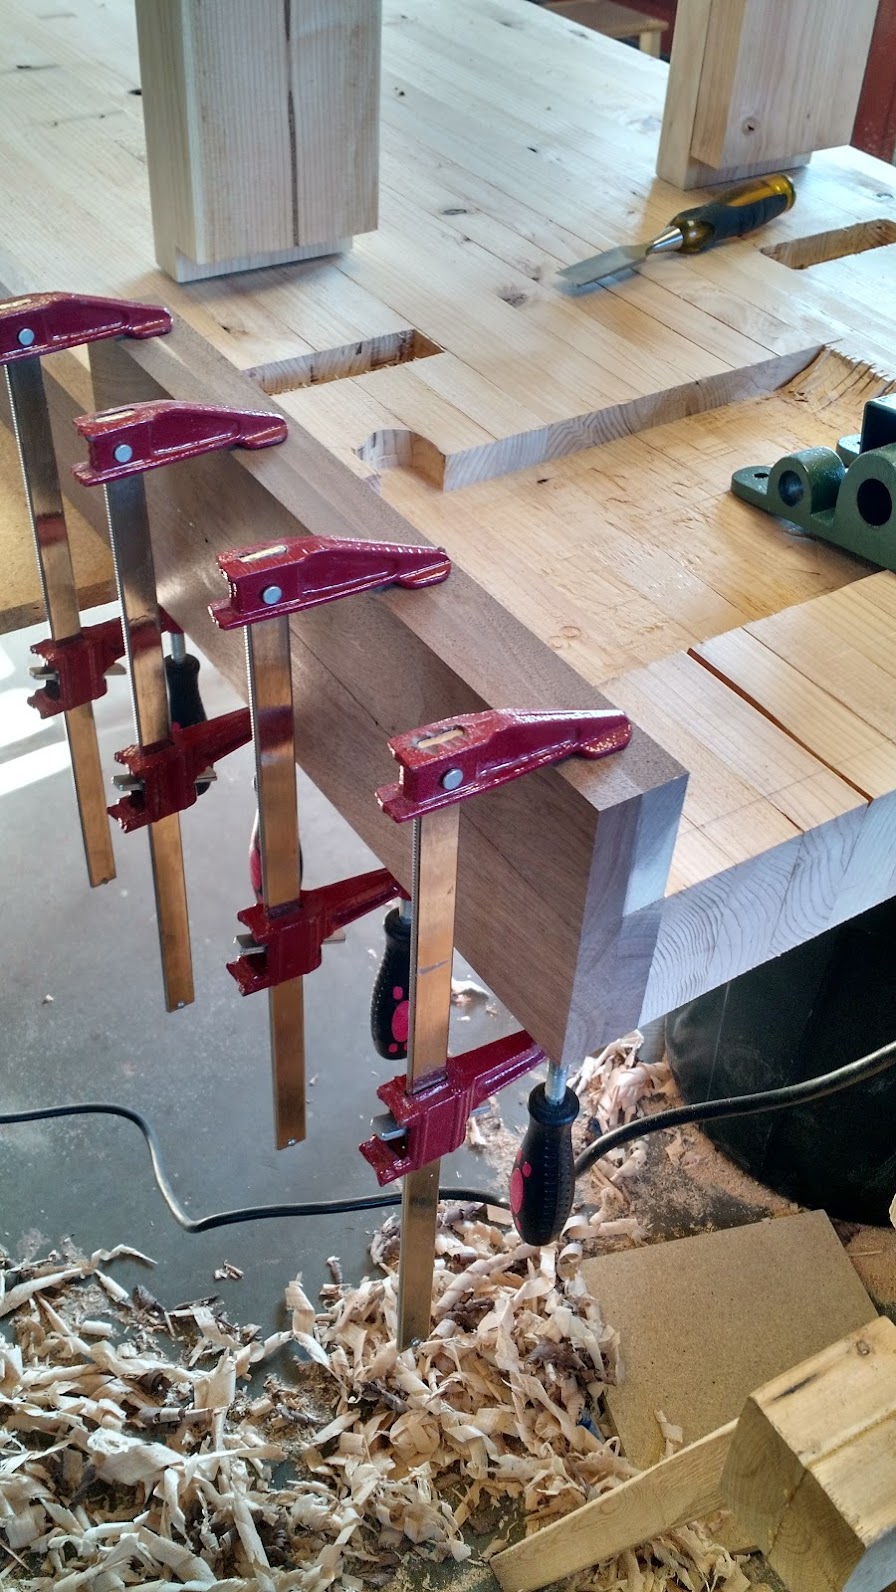

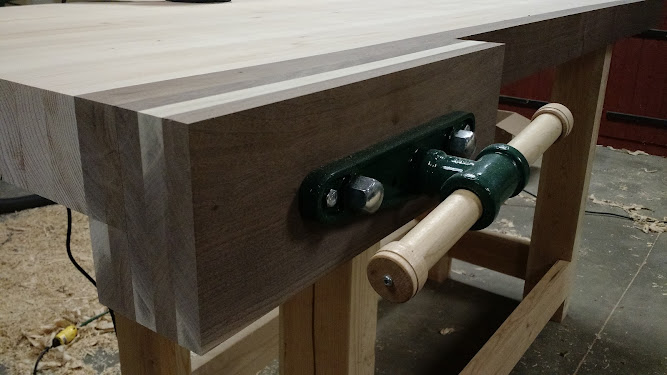
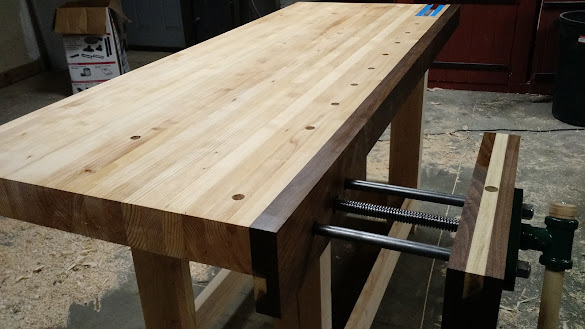
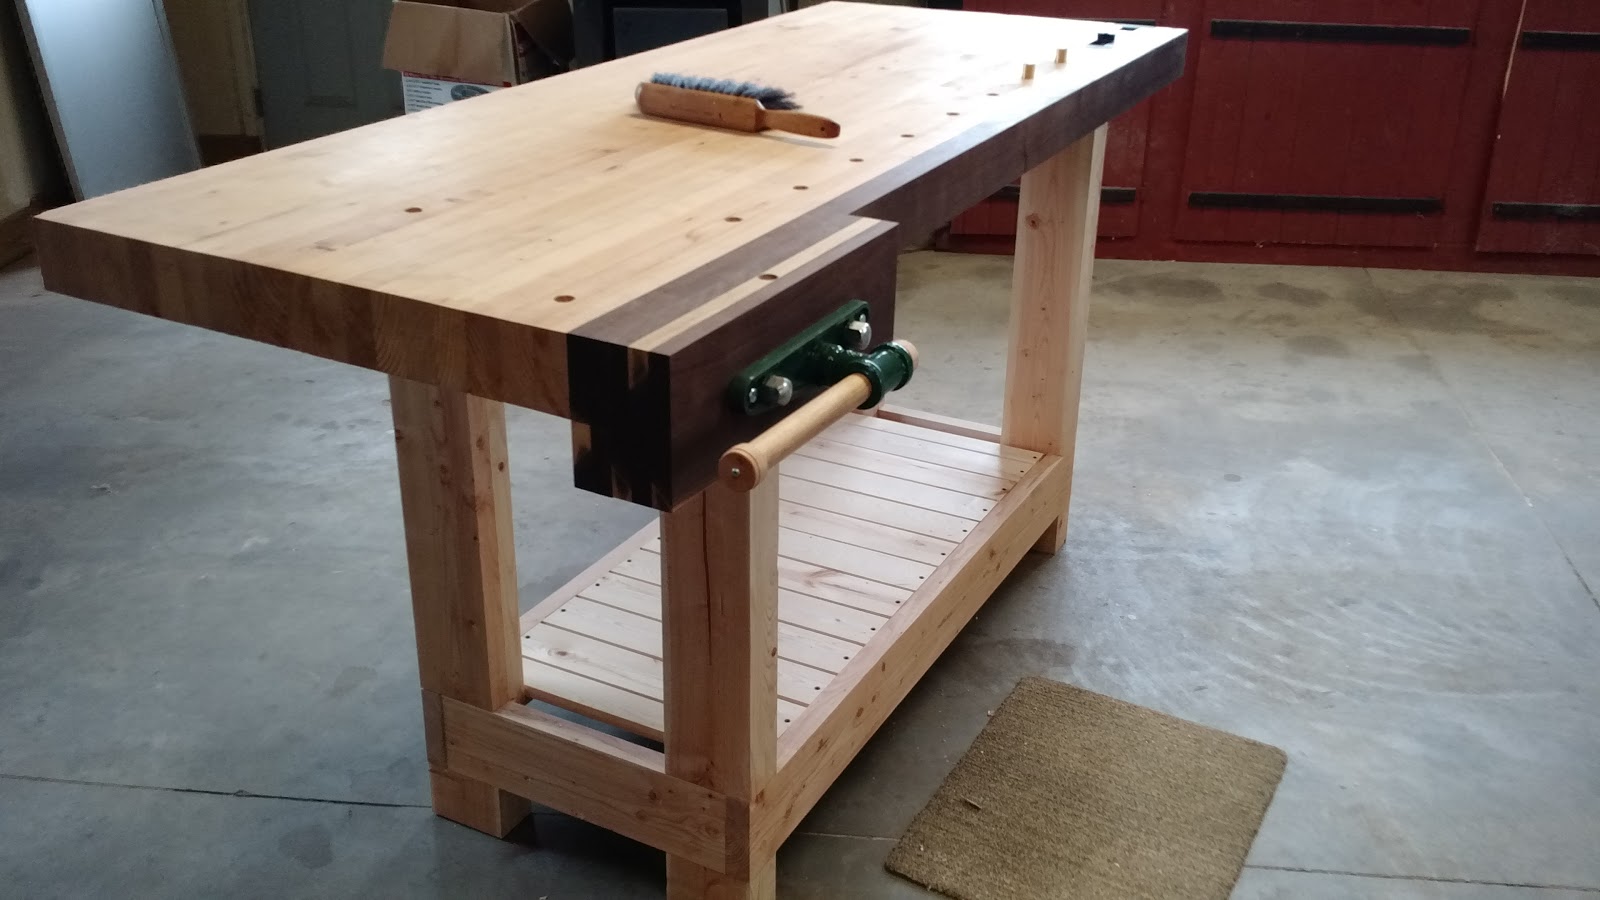
Then I made the jaw with 3 pieces of planed walnut glued together. I drilled the holes through it for the stabilization bars and threaded rod. I don't have a drill press so I tried to drill as perpendicularly as possible by eye. I had my wife help me from another angle to try to get the angle as perfect as possible. It didn't end up being perfect, but it wasn't bad. I clamped the front jaw to the rest of the workbench and finished drilling the holes through the apron. After fitting the rods through the holes, I needed to use a circular file to straighten out some of the holes. After that was all said and done, I drilled some holes for lag screws for attaching it to the bench with the vise fully tightened. This went well and I ended up with a well installed vise as far as I can tell! I used a hand plane on the top to get the front jaw even with the bench top. The next picture is the completed vise upside down and the rest are right side up without and with finish.

Thanks for reading!