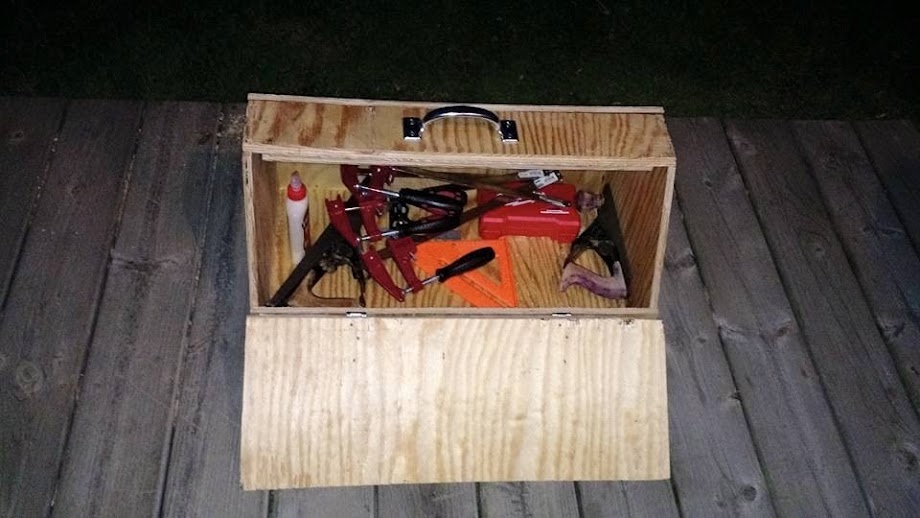
As of writing this, I'll be moving soon. In 1 month, Kaytee and I will be closing on a house. I've started to accumulate many small tools: files, rasps, wrenches, pliers, hand planes, squares, levels, boxes of screws and nails, etc. Too many small tools to fit into just one toolbox. I decided it was time to design and build a life-long lasting toolbox. It will be very valuable when moving all these miscellaneous tools and come in handy whenever I need to work on something away from my shop. My first toolbox was given to me by my Uncle Rick. For the first of my wood projects, I used software as the designing medium, specifically SketchUp.
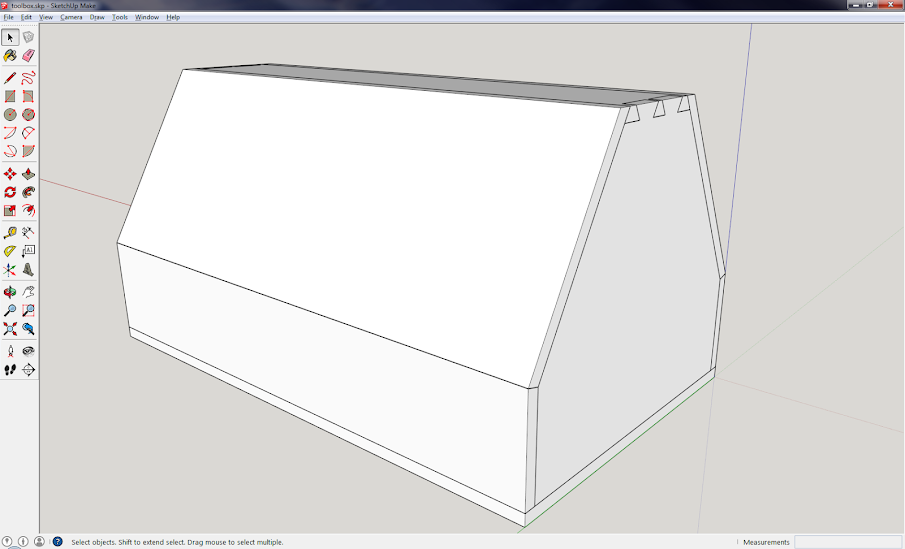
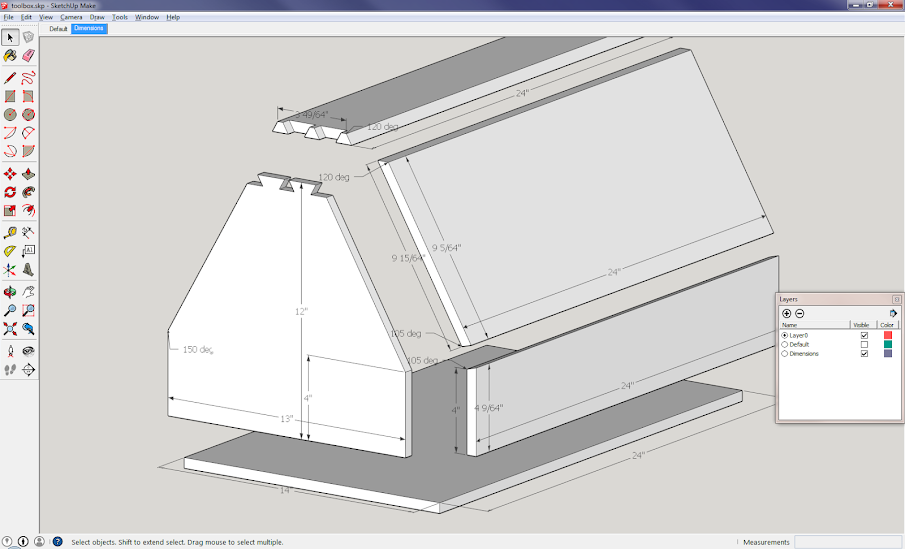
Dovetail design
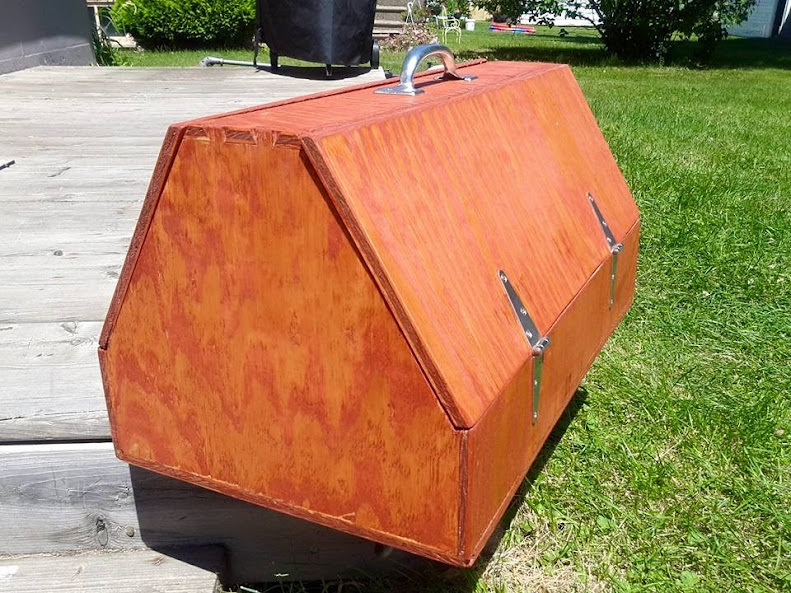
In the images above, note the dovetail joint design of the top connecting to the faces. This design isn't just for looks; instead, it is for a much stronger joint. Depending on the load in the toolbox, there'll be a lot of upward pressure on these two joints when lifting by the handle (which will go in the middle). The way I'm using the dovetail, the faces and tops mechanically lock together - meaning without glue, screws, or nails, the joint is intrinsically strong when subjected to pressure by lifting. This is the first time I've attempted a dovetail joint, and I think it turned out well considering. I used this IRWIN flush cut/dove tail saw to cut the pins and tails. Here is the result:
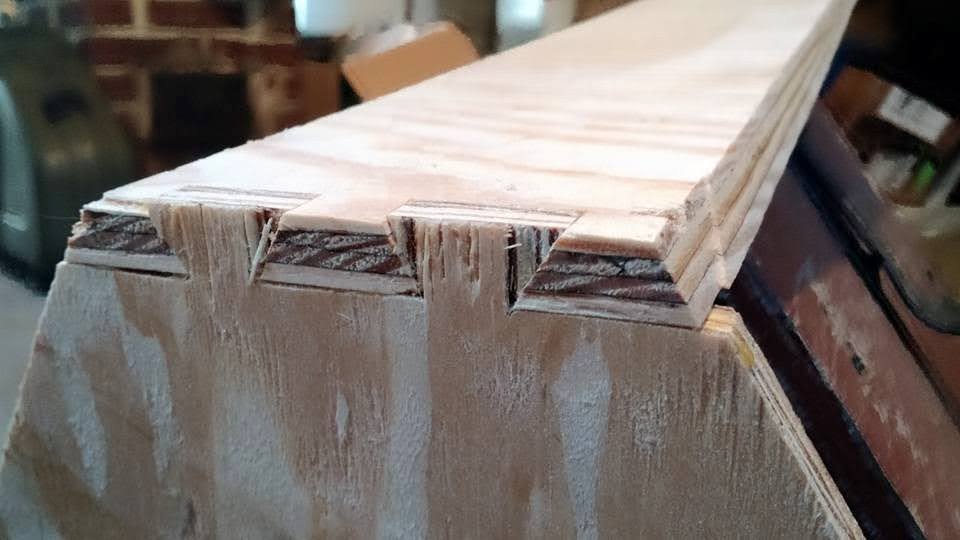
Unfortunately plywood chips easily when putting the pieces together and chiseling out details. However, gaps were minimal yet you could push them together by hand in the end!
All the rest
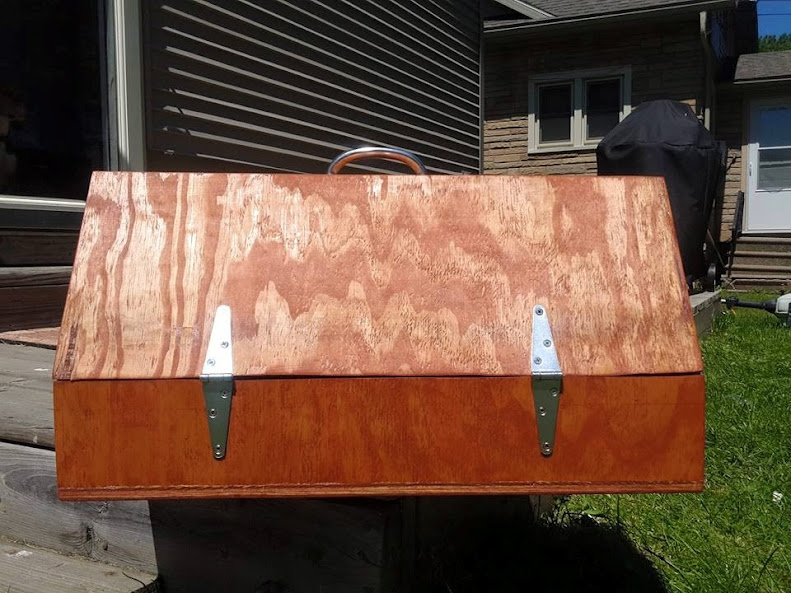
For this project I just bought a 1/2" piece of plywood for like $16 at Menards. With this design I could make two (almost three) similar toolboxes with just this one sheet of plywood. I used a cordless Milwaukee jigsaw and circular saw to make the cuts. I used some screws from the bottom into the sides and glue all around to hold everything together. I bought 2 hinge sets (2 a piece) and a handle in terms of hardware. I then finished with 2 coats of Cherry colored Danish Oil. It gave the wood a very exotic look, and I think it looks nice when contrasting against the shiny steel hardware. Danish Oil also hardens after drying from within the wood leading to a water and wear resistant finish.
Here are a few in progress and finished pictures.